

How To Edit Glare Out Of Photos On Iphone
Photo Video Lounge is a participant in the Amazon Services LLC Associates Program, an affiliate advertising program designed to provide a means for sites to earn advertising fees by advertising and linking to Amazon.com.

Not everything that glitters and shines is gold or even pretty… especially on your iPhone photos, right? Too much shimmering isn't always good. For example, you were taking an aesthetic photo of the park—yet that glare is ruining it. It just seems so unnecessary to have glare on an iPhone camera.
Is there any way to reduce glare on your iPhone photos? And why is there glare on your captured photos? In this article, we will talk about why glare exists in your iPhone camera or photos and how you can fix it.
Why is there a glare on my iPhone camera?
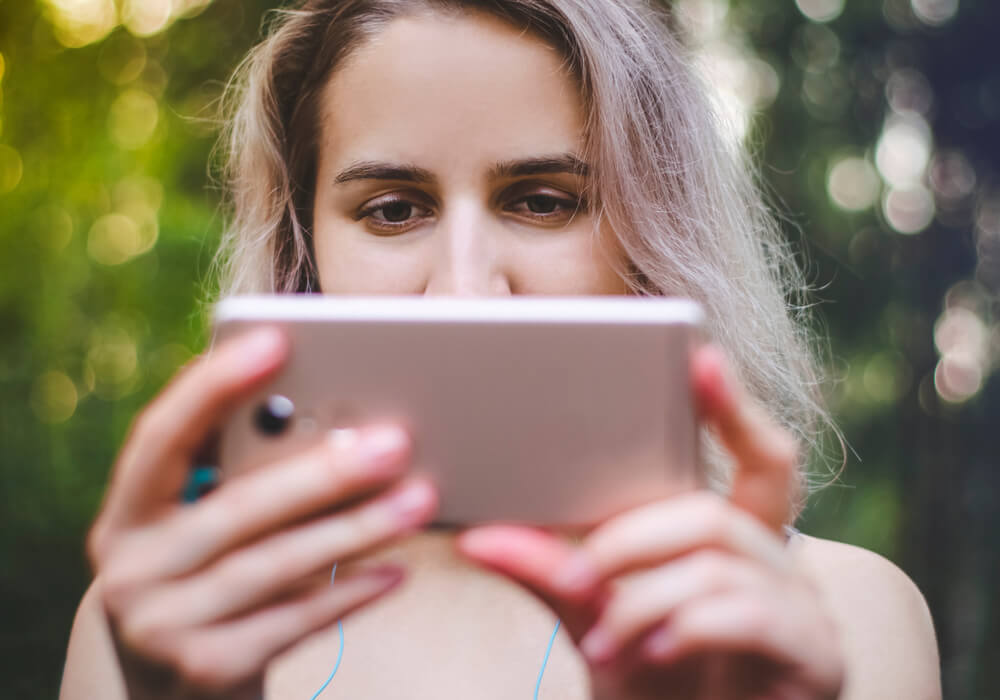
The glare on your iPhone camera appears when there's a strong light source in the scene. The bright light from the source reflects off your iPhone camera's surface or the subject's reflective surface, hence the glare.
For instance, when you're taking a pic of a person in the middle of the day or a person wearing sunglasses, the light in the scene will bounce off your camera's surface or the subject's surface. This will cause glare to appear on the captured photo.
Glare, however, is not a component problem in your iPhone but a common occurrence in all cameras, including a DSLR camera. Think of it as more of a physics problem you have to deal with.
How to prevent or remove the glare on your iPhone
Glare might be inevitable but that doesn't mean it's unavoidable. These tips might help you reduce or remove the glare on your iPhone photos.
1. Adjust your iPhone camera's position.

Strategically position your camera at an angle that places the glare at the light source. This way, the glare will not appear in your photos. You can also move to another position or let your subject move to a position that blocks the harsh lighting. This will reduce the glare that appears on your camera.
2. Place your hand over the camera's lens but don't cover it.
This will help minimize the light that reflects off your camera's lens. This way, the glare will also disappear. A fair warning though—this might change the quality of your photo since you're interfering with the light source.
3. Use the Snapseed app to remove the glare.

If you have time for post-processing, we suggest using Snapseed. Its healing tool will help remove glare and it's so easy to use! Just install the app, click the Healing tool button, and draw over the glare. After that, Snapseed will identify the spot that's out of place and it will remove it. Your glare is now out of the picture! Literally.
4. Use a light diffuser for the harsh lighting.
A light diffuser or a flash diffuser will spread the light all over the scene, preventing glare from appearing on your photo. If you don't have a light diffuser, a large white sheet of paper can help soften the harsh lighting in a portrait.
5. Avoid photo walks during the middle of the day.

Taking photos between 10 am and 3 pm will just make you suffer. Glares will be hard to avoid since the sun is too bright during those periods. So, to avoid sunburns and glare-filled snapshots, just wake up early or wait for a little before sunset. This way, you can capture photos with softer, natural lighting.
6. Use a polarizer filter.

Polarizer filters help minimize surface glare, most especially when taking photos of the beach waters or any person wearing reflective clothing or eyeglasses. Polarizers can also give your photos a better dynamic range—that means you'll get bolder outlines and more vibrant colors.
Related: How to Take Amazing Beach Pictures with an iPhone
7. Buy an iPhone lens with a hood.
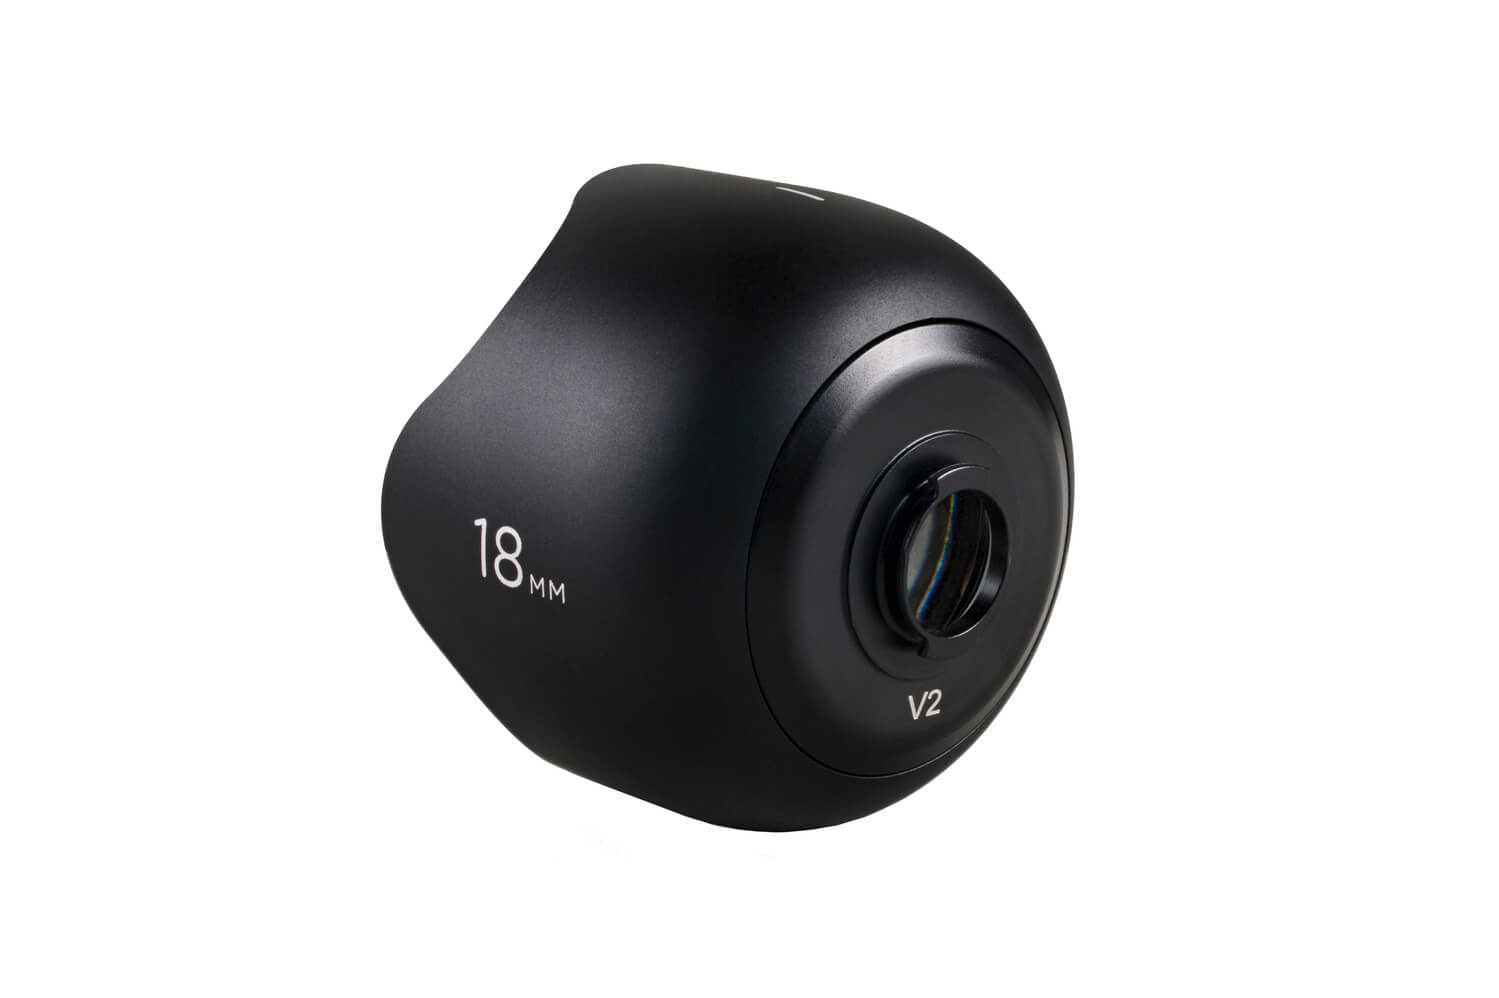
Don't want to use your hands to cover your lens? If you have the budget, you can spend it on a lens with a hood for iPhone. This can definitely help minimize the glare and/or sunspots without compromising the amount of light that should enter your camera. You can typically buy these iPhone lenses in kits.
8. Learn how to shoot at the right angle.

Take note that light is linear; therefore, if you shoot directly at a reflective surface, the light will bounce back to your camera, causing glare to appear. As a result, you must shoot at the right angle. For flat, reflective surfaces, moving a little bit to the side when taking a photo of the subject reduces the glare. As for surfaces that curve inward, you should shoot at the center to avoid glare. The opposite goes to surfaces that curve outward like a bubble.
A closer look into glare
Now that you know why glare appears and how to fix it, it's time to know more about its intricacies. We believe this information will be useful as you take more photos that involve lighting and a variety of subjects, living or inanimate.
Defining glare
Before you buy gears or gizmo that claim to reduce glare, make sure you're aiming to prevent the right kind of glare. Actually, glare has two definitions—glare in lighting design and glare in photography.
In the world of lighting design, glare is the vision impairment that stems from harsh lighting. In this area, glare has different variations, namely Blinding Glare, Disability Glare, and Discomfort Glare. Overall, glare is a crucial factor to consider in lighting design, as this can affect the building occupant's comfort and productivity.
Now, in photography, as you might have guessed it, glare is the enemy of most professional photographers. Along with lens flare, unfortunately, glare is inevitable— especially if the subjects have reflective surfaces or if they're located in reflective environments (ex. the beach, a painting, a house with glass windows, etc.)
Glare Vs Lens Flare Vs Veiling Glare
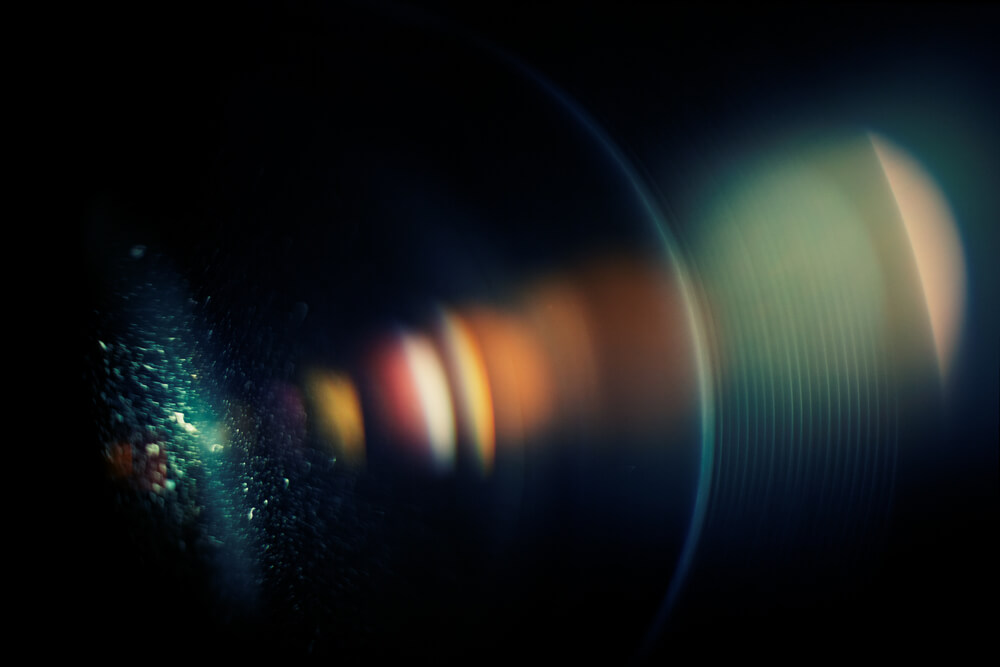
Glare is an intense, blinding reflection of light that appears on your camera due to a strong light source. On the other hand, lens flare is a foggy effect that washes down a photo's contrast. Both are caused by harsh lighting and can be solved by using filters. Meanwhile, veiling glare is a stray light that particularly reduces the shadowy areas' contrast. It's caused by the reflection among the inside barrel and other parts in the lens.
Taking photos of with little to no glare
Artwork

Glare is especially a common issue when taking pictures of paintings. Since most paintings have flat surfaces, one should be positioned at the right angle when taking photos of them. Now, what happens when the art gallery is crowded and you can take photos from the right position?
The solution is using a polarizer for your iPhone. It also helps combat the glare from the windows, allowing you to take photos with less glare! Moreover, if the painting has a glossy finish, make sure to turn off your camera's flash.
Person wearing eyeglasses

Remember the 8th tip we listed above? Just refer to that tip when shooting a portrait of a person wearing a pair of eyeglasses or sunglasses. If their eyeglasses' lenses are flat, avoid shooting at their center. Make sure to scootch a bit sideways, so you can avoid capturing the light's reflections on their eyeglasses' lens. The same goes for eyeglasses or sunglasses that are shaped like a convex.
In a nutshell
Glare may always be there when you take photos with your iPhone, but that doesn't mean you cannot avoid them. Just remember the tips we listed here and study more about how light reflects on a surface—and you're good to go! If all else fails, just let it go and work around the glare in your photo.
Photo Video Lounge is a participant in the Amazon Services LLC Associates Program, an affiliate advertising program designed to provide a means for sites to earn advertising fees by advertising and linking to Amazon.com. Amazon and the Amazon logo are trademarks of Amazon.com, Inc.
How To Edit Glare Out Of Photos On Iphone
Source: https://photovideolounge.com/142/glare-on-an-iphone-camera/
Posted by: sauermazint.blogspot.com
0 Response to "How To Edit Glare Out Of Photos On Iphone"
Post a Comment